
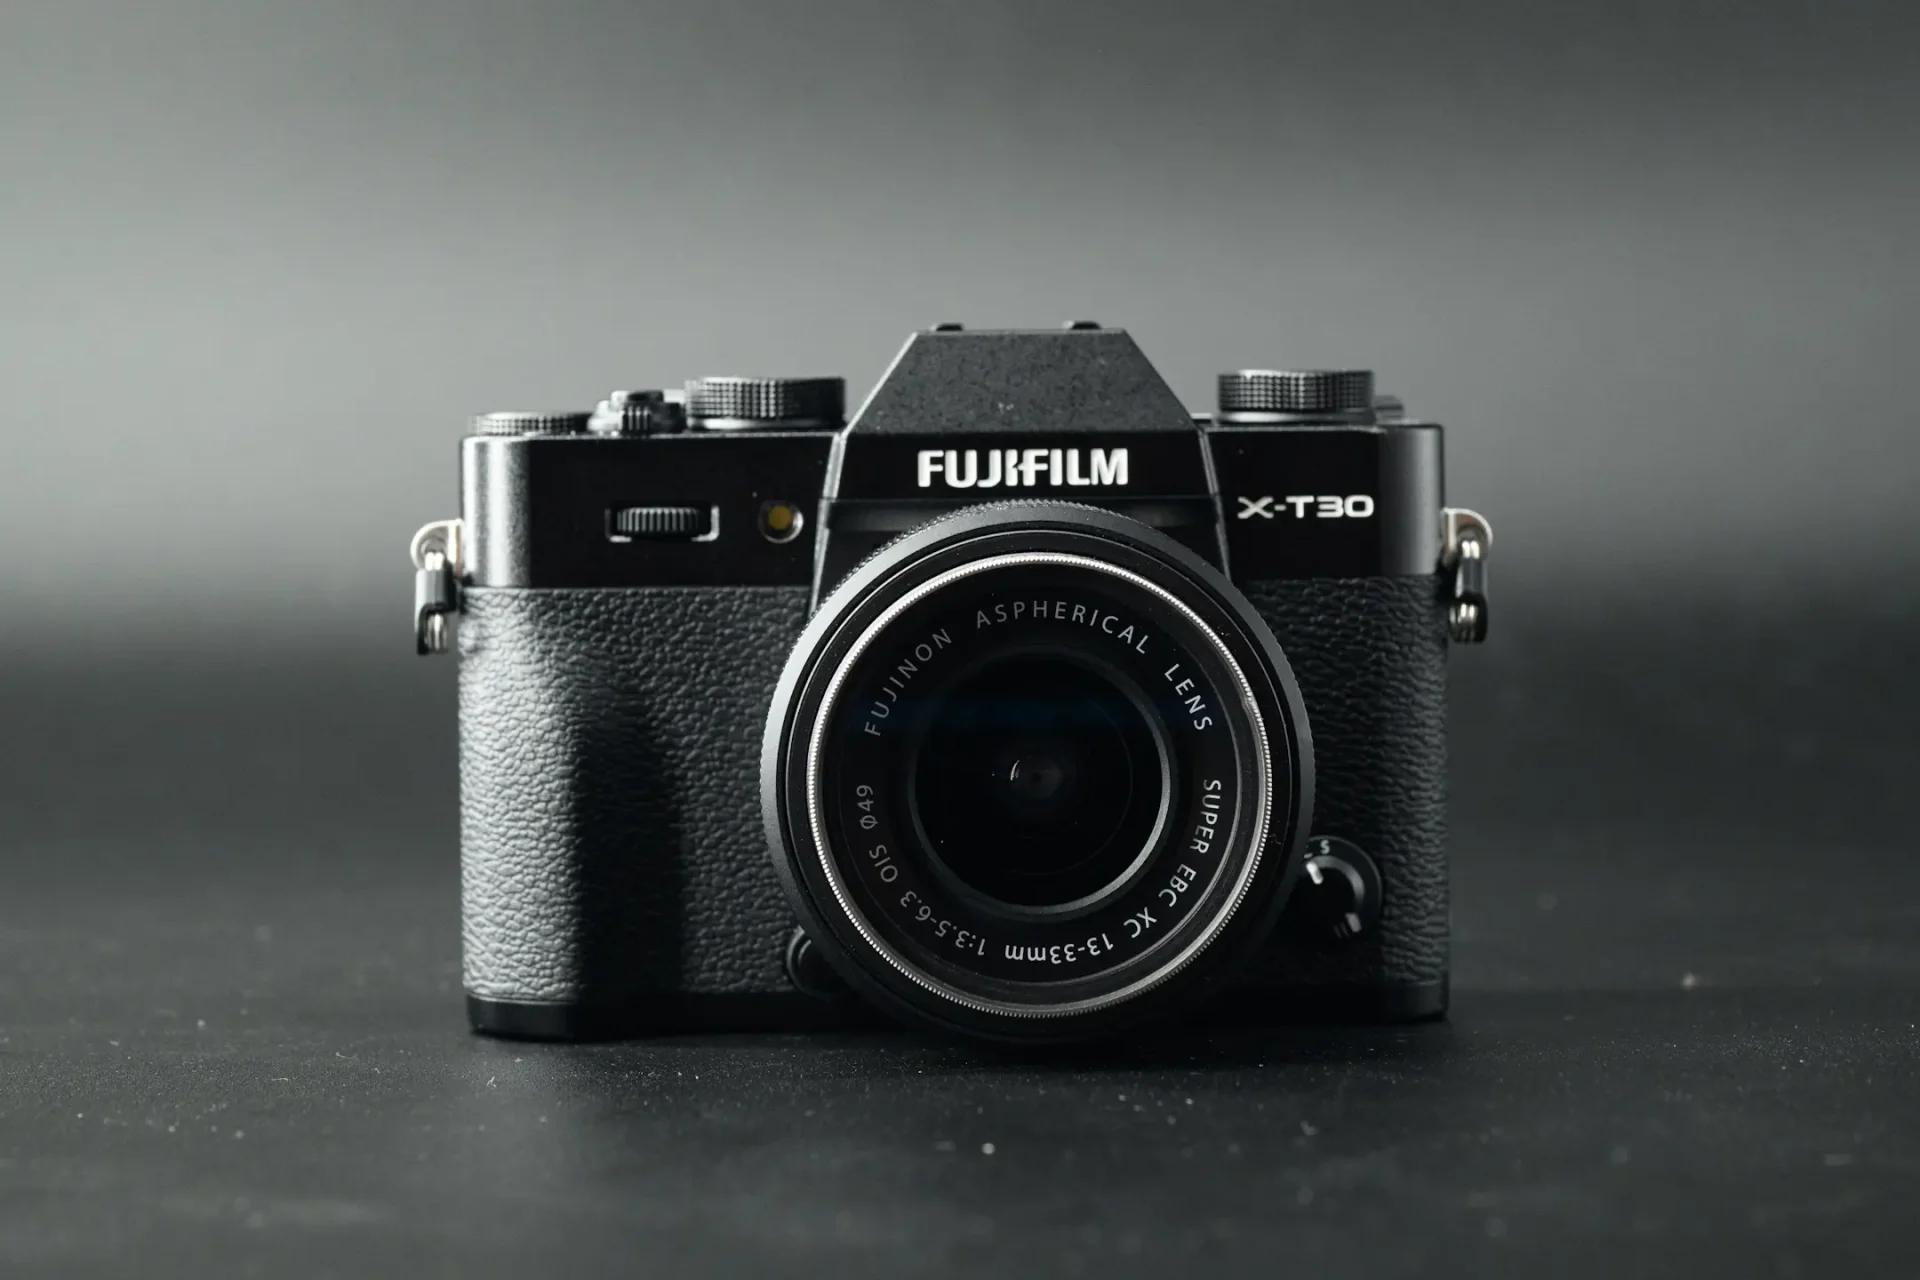
The Fujifilm X-T30 III is a fantastic camera for beginners offering simple automatic modes that make taking pictures easy. However if you want to take a little bit more control while still keeping things as simple as possible then the settings below give you the best performance without having to be a computer scientist to get great results. Out of the box the X-T30 III requires some important changes which I will go through step by step below:
You can see my first impressions of shooting with the X-T30 III here.
I’m going to assume that you have done the initial setup of turning the camera on and inputting the time and date. This guide is about getting the best out of the camera so you can get great photos straight away and you don’t have to struggle with the camera. I will also walk you through how to connect your camera to your phone at the end of the article. All settings are kept at their default values unless they are specifically mentioned below.
If you’re looking to get the most out of your camera then i’ve published a guide to the essential accessories for the X-T30 III.
Shooting Mode
The shooting mode I recommend for most people is Aperture priority. This allows you to control the aperture of the lens which gives you creative control over depth of field, in other words, you can control if you want your subject to be isolated with an out of focus background (using smaller f numbers like f/1.2-f/2.8) or need more of the scene in focus (by using larger F numbers like f/5.6 and larger). Shooting in this mode means that you can hand off control of the other exposure settings such as shutter speed and ISO to the camera, allowing you to capture photos quickly. Later in the setup we will tell the camera the parameters it is allowed to use for shutter speed and ISO settings.

Set the shutter speed dial to A (as in the above photo) to enter Aperture priority mode.

If you shoot any moving subjects then select C on the front focusing mode dial. This will allow the camera to continually adjust focus while you have the shutter button half pressed to ensure it keeps your subject in focus, even if it moves.
Image quality settings

I shoot raw as I often edit photos later in software. However I also like to use the Jpegs from the camera so I set the Image quality settings to Normal + raw which produces a raw file and a Jpeg file for every shot you take. I’ve also included settings for Jpeg shooters too. If you bought the camera with the kit lens then at some point in the future, you will want to take a look at lenses which can take your photos to the next level. That’s why I put together a guide to the best Fuji lenses.
My settings:
Image Quality: Normal + Raw

Raw recording: Lossless compressed – compresses the Raw files to make them smaller without losing any quality.
Jpeg/Heif: Jpeg
If you dont want to edit photos in software later, then select:
Jpeg only settings
Image quality: Fine – This will give you the best quality Jpeg file straight out of the camera.
Jpeg/Heif: Jpeg – Jpeg files offer broader compatibility with different devices and currently outweigh the benefits of HEIF files for most people.
White Balance: auto – If shooting raw you can change this later and if shooting Jpeg the auto setting will usually give you an accurate white balnce to ensure the color of your photos is correct for the lighting in your scene. Later, when you have mastered the camera I recommend setting white balance manually when shooting Jpeg, but for now let’s keep it simple by using auto.

High ISO NR: -4 – In camera noise reduction can smear details, resulting in unatural looking photos. The X-T30 III performs well enough in low light, and the noise looks natural enough that turning the noise reduction to the camera’s lowest setting is preferable.
Clarity: 0 – If you allow the camera to adjust clarity then it slows down your shooting as it adds processing time when taking photos. This can be annoying if you want to take several shots in quick succession. By leaving it at 0 you minimise this delay.
Color Space: sRGB – Choose sRGB unless you plan on printing a lot and need the larger color space provided by Adobe RGB.
Auto Update custom Setting: Disable – I leave this disabled. This option, if left enabled, will automatically update your custom settings when you change them. I prefer to always know that my custom settings will remain the same every time I come back to the camera. This is much better than forgetting what you changed and having to work it out before getting back to your preferred custom settings.
AF/MF Settings Menu

The Fuji X-T30 III has decent auto focus performance for general photography but setting it up correctly is essential to getting the best out of it.
Thee are my recommendations for general photography where you will be shooting a variety of subjects, such as kids, street scenes, vacation photos. If you are shooting landscapes or other completely stationary subjects then switching in to Single Point AF mode will give more control over exactly where you focus.
AF Mode: Zone – The size of the AF box can be changed by pressing the joystick and then rotating the rear command dial. I suggest playing around with the size of the focus box to see which suits your subjects best as there is no one size fits all option. Usually the faster the subject is moving, the larger you want your box to be. However, a larger box comes with the trade-off that you are giving up control of where the camera focuses.
AF Point Display: Off – When switched to off, the camera will display the active focus points within your selected zone box. If you turn this on all focus points are shown all the time which can be distracting.
Face/Eye detection setting: Off – Leave this to off by default as if there is no people in your photo then the camera may look for faces outside of your Zone AF box and get confused. We will set up a custom button to quickly turn Face detection on later.
Interlock Spot AE and Focus Area: On – This setting relates to the Photometry (called metering by most photographers) setting in the camera. In general leave Photometry set to Multi. This will allow the camera to look at the whole scene and give a balanced exposure. However, as you progress, you may want to take more control over where the camera is metering from by using spot metering. By turning this setting on, the camera will spot meter according to your focus point. This works well when shooting portraits and ensuring that the camera prioritises the exposure of the subject.
Shutter Type: EF+M+E – E-Front curtain minimises shutter shock which can create shake in your images at slow shutter speeds, Mechanical means the shutter physically moves which reduces rolling shutter effect in images with movement and ES is an electronic shutter which allows you to use faster shutter speeds (in bright light for example).
Setting up Auto ISO
Auto ISO is an incredibly useful feature if we configure it correctly. Pros use it all the time, even if the mantra of shooting in manual is propagated, often auto ISO is the most suitable option when dealing with changing light, fast moving subjects or when you simply don’t want another exposure parameter to have to control before taking photos.
These are my auto ISO settings for general photography.

Auto 1 – Default Sensitivity – 160, Max Sensitivity – 12800, Min Shutter Speed – 1/160. This is my default setting. It makes the camera default to the highest image quality setting of 160 ISO when light allows, while allowing the camera to increase the ISO value up to 12800 when necessary (which on the X-T30 III still delivers acceptable image quality) and it ensure that the shutter speed never drops below 1/160 which is fast enough to capture sharp images of people.

Auto 2 – Default sensitivity – 160, Max sensitivity – 1600, Min Shutter speed – Auto. This is my daytime setting for still subjects. it caps the ISO level at 1600 as for still subjects, there is really no reason to go above 1600 in order to ensure great image quality. By setting Minimum shutter speed to auto, the camera will shoose an appropriate shutter speed to get sharp handheld shots according to the focal length that you use.

Auto 3: Default Sensitivity -160, Max Sensitivity -12800, Min Shutter Speed -Auto. These are the same settings as above but used for low light and nightime shots to allow the camera to raise the ISO a little higher to ensure sharp shots.
Things to change in the Set up Menu

If you dont want to hear the camera constantly beeping at you then, like me you can turn off audible signals in the camera’s Set Up menu (spanner icon on the left side).
Set Up > Sound Setting > page 1/2 > AF Beep Vol: Off
Operation Vol: Off
Custom Function button setup
The Fuji X-T30 III gives you quick access to most useful functions out of the box via the default Q menu (which you can customize via menu option >Set Up > Button/Dial Setting > Edit/Save Quick Menu). However adding the following custom function button settings speeds up the camera in use by allowing you to quickly access settings you may need to change on the fly regularly.

Menu option: Set Up > Button Dial Setting > FUNCTION (Fn) Setting
Fn: Set to Face detection ON/OFF – This allows you to quickly turn face detection auto focus on and off depending on if people are in your scene.
AE-L: ISO – This gives quick access to ISO settings including the auto ISO modes that we set up earlier. The reason that this is placed here for quick access is that if you are using the Auto 1 option that we set up earlier and you come across a still scene that doesn’t require 1/160 shutter speed, we can quickly change to Auto 2 to ensure that we get sharp shots without the camera artificially raising the ISO level uneccessarily, ensuring maximum image quality. You can of course control the shutter speed via the shutter speed dial which can come in useful, for example if you are shooting water and want to create silky water effects by using a slower than standard shutter speed, but for general use and when taking lots of shots of various stationary subjects, Auto 2 does a good enough job while keeping things simple and easy.
Connecting the Fuji X-T30 III to your Phone
One of the great things about the X-T30 III is that it allows you to easily connect the camera to your phone so that you can quickly see the photos you have taken and post them to your social media. Setting this up is quick and easy if you do it the right way.
Firstly, you will need to download Fujfilm XApp from the App store or Play store.

Open the App and click on the camera + Icon in the top right of the screen.

Turn your X-T30 III on and navigate to Menu >Network/USB Setting > Bluetooth/Smartphone click ok or right on the AF joystick.

Now Click Pairing Registration and you will see the screen below:


Click Pair on the Fuji XApp when you see the above screen and Click the OK button on the camera to confirm the numbers ar ethe same an finalise pairing.

This process is usually fairly quick. It took my Iphone 13 Pro about 30 seconds to connect to the camera. Sometimes it can take a little longer though so give it a minute or two.
Once pairing is completed you will see your Fuji X-T30 III appear in the app.

Now you are all set up. You can choose to receive photos from the camera automatically, downsize the photos for transfer or have full resolution images sent to your phone, remotely control the camera, have geo tagging information attached to your photos so you know where you took them and importantly, esily update your camera’s firmware via the app to ensure it gets any new features or bug fixes.
And that’s it—your Fujifilm X-T30 III is now set up to take great photos in a variety of different situations. These settings provide a strong foundation to ensure sharp images of people and places, while giving you control over the aperture. As the most important tool for storytelling in your photography, managing your aperture lets you shape your creative vision without getting bogged down by every single exposure choice.