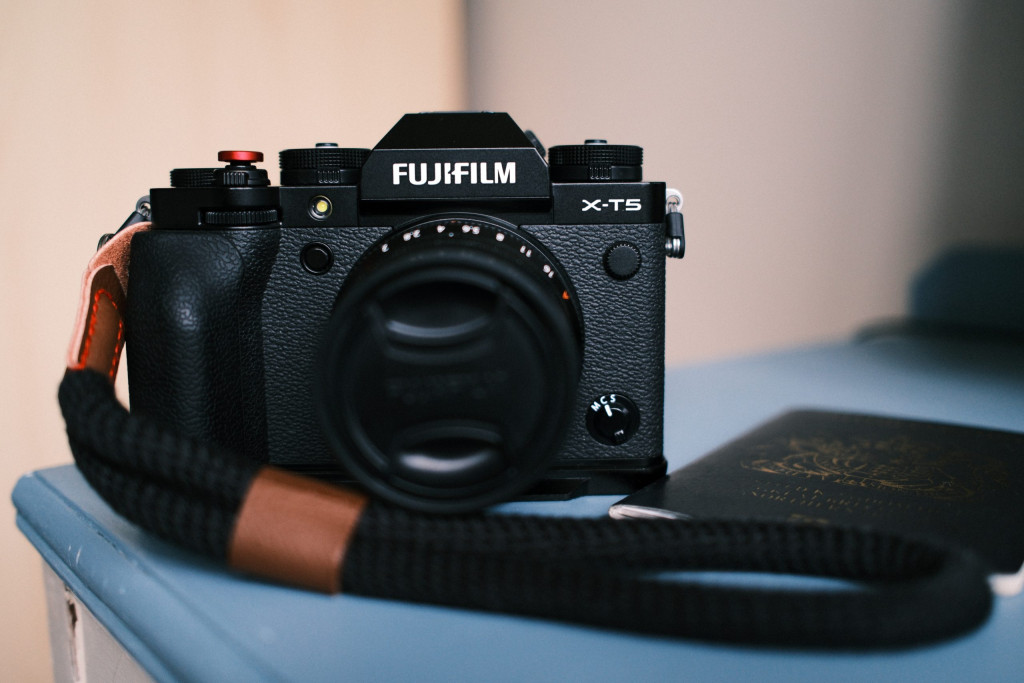
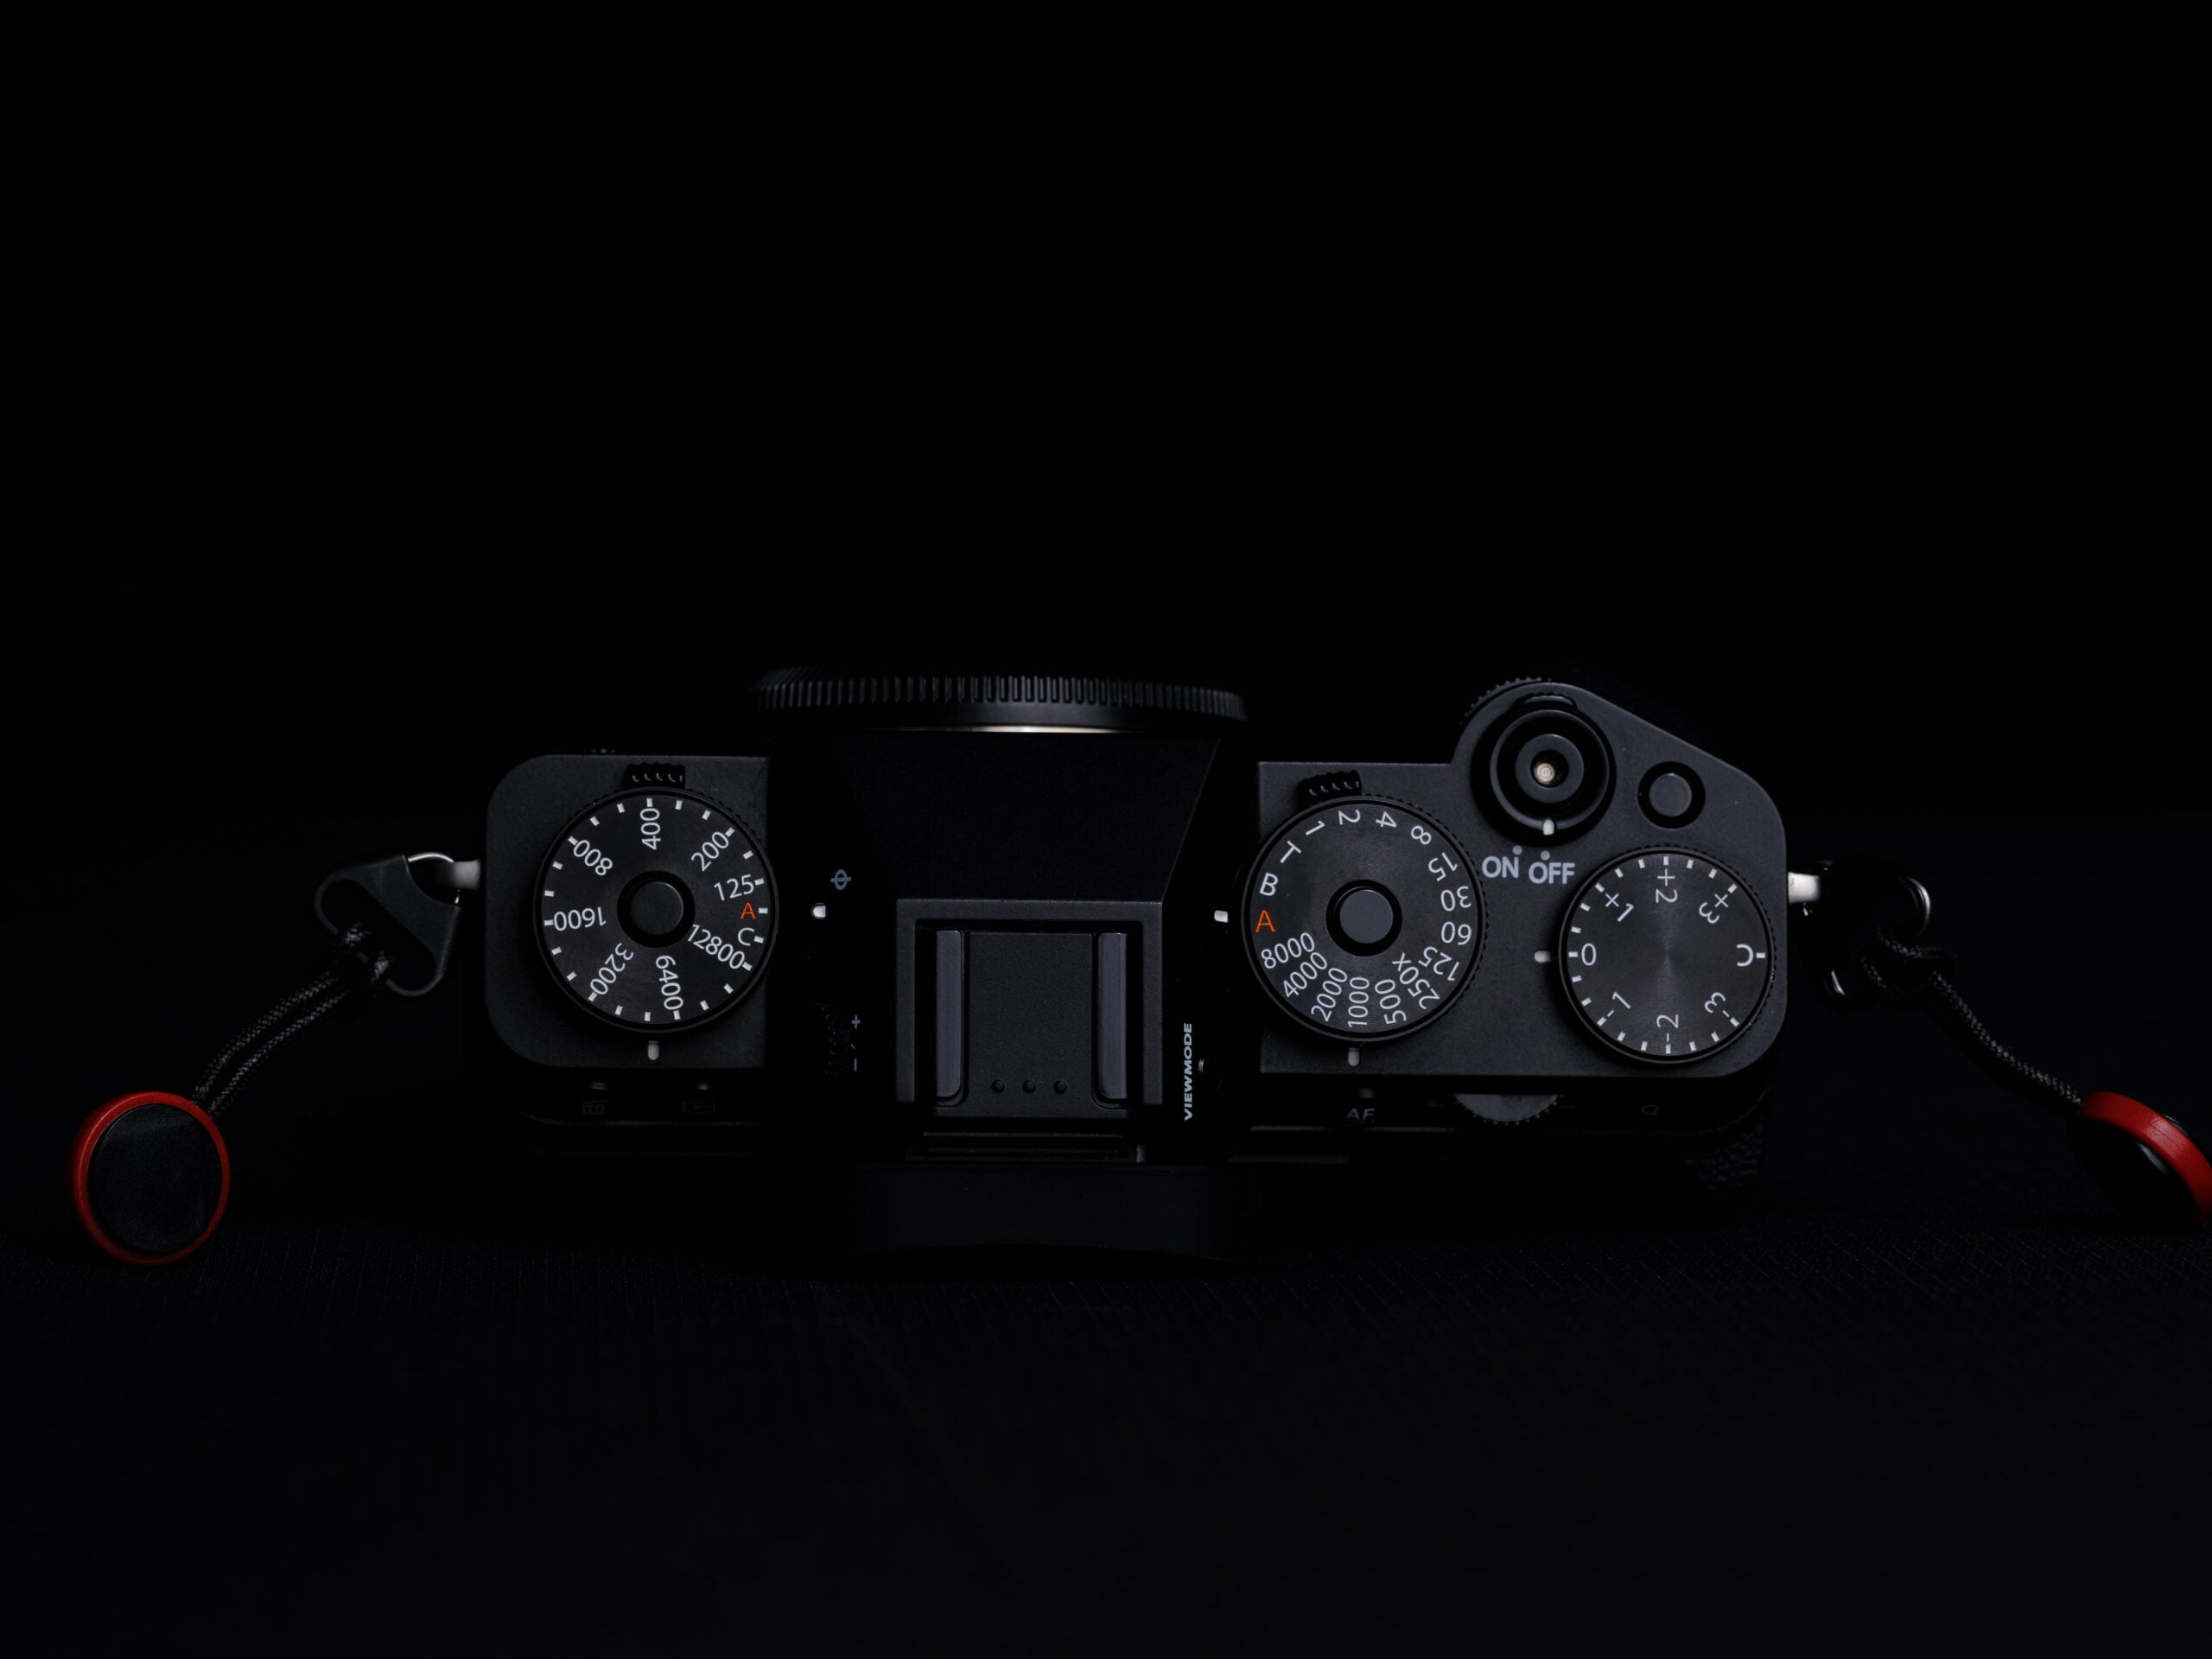
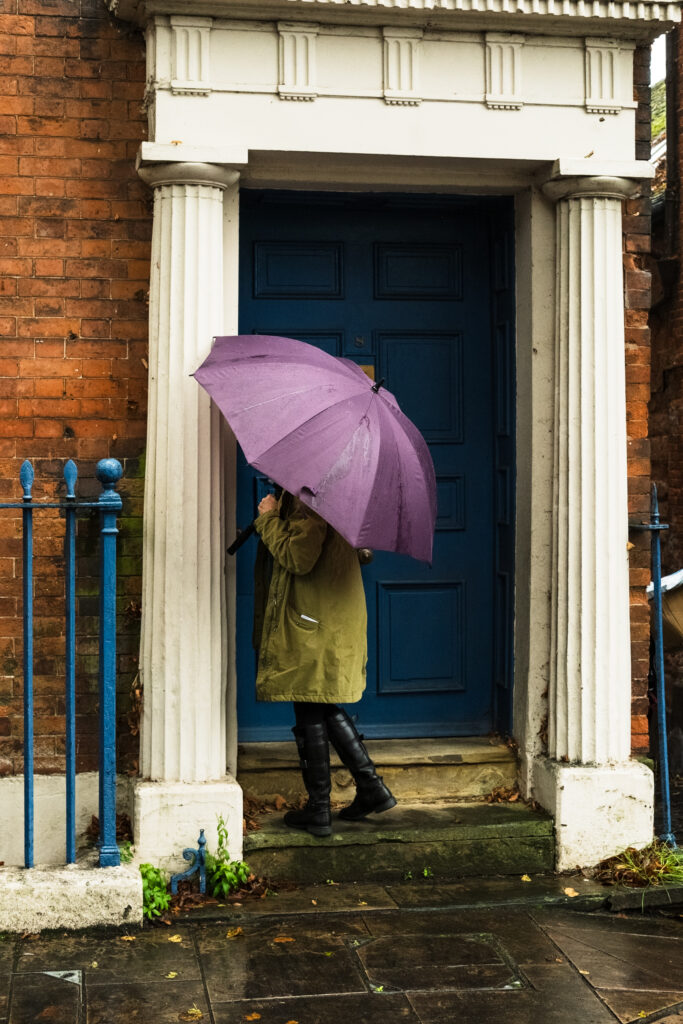
Are you ready to take your Fuji XT5 street photography to the next level? If you’ve been searching for the best settings to optimize your camera for dynamic, fast-paced environments, you’ve come to the right place. In this guide, I’ll walk you through the key settings I use on my Fujifilm XT5, including custom function buttons and film recipes that will give your photos a distinctive look. If you want to know what its like to own the Fujifilm X-T5 long term then see my comprehensive review.
I’ve also written an in depth article on the best accessories for the Fuji XT5. You can also get these looks on the X100VI. If you’re choosing between the X-T5 and X100VI for street photography I’ve also got you covered. If you’re considering something even smaller then this FujiX100VI vs Ricoh GRIII aricle will help you to decide.
But if you prefer video tutorials or want to see these settings in action, I’ve put together a detailed YouTube video where I go over my full setup for street photography, including tips and examples. You can watch the video here:
Now, let’s dive into the settings.
1. Image Quality Settings
Getting the right image quality is crucial for street photography, especially when you’re shooting fast and in varied light. Here are the settings I use to ensure I capture both JPEG and RAW files:
–Image Quality: Fine JPEG + RAW
–RAW Recording: Lossless Compressed
–JPEG/HEIF: JPEG
–Film Simulation: Classic Chrome (or your choice—check out my YouTube video for more film recipe options!)
– Grain Effect: Off
– Color Chrome Effect: Off
– Color Chrome FX Blue: Off
– Smooth Skin Effect: Off
If you want to see how these settings translate to real street photography scenarios, don’t forget to check out my YouTube video where I walk you through these settings in real-time on the street.
2. White Balance & Dynamic Range Settings
These settings will help you maintain accurate colors and prevent blown-out highlights or shadows in varying lighting conditions.
– White Balance: Daylight
– Dynamic Range: Auto
– D Range Priority: Off
– Tone Curve: Default (H: 0, S: 0)
Want to see how I adjust these settings on the go in fast-changing street scenes? Be sure to watch this YouTube video for live demonstrations!
3. Color & Sharpness
Neutral colors and sharpness are essential for clean, striking images. Here are the best settings to achieve that:
– Color: 0
– Sharpness: 0
– High ISO NR: -4
– Clarity:c0
– Color Space: Adobe RGB for printing, or sRGB for general use
Fuji 23mm f2 Lens
Fuji 35mm f2 Lens
These are affiliate links — using them helps support the site at no extra cost to you. Thanks!
4. Auto Focus Settings
Street photography often happens fast, and you need autofocus settings that can keep up. Here’s what I recommend:
– Focus Area: Zone
– AF Mode: Zone
– If Using Single Point AF: Set focus points to 425
– AF Illuminator: Off
– Face/Eye Detection: Off
– MF Assist: Peaking, Red High
– Interlock Spot AE & Focus Area: On
5. Drive & ISO Settings
Quick adjustments for burst shooting and ISO sensitivity are crucial in street photography. Here’s how I set them up:
– Drive Settings:
– CH (High Burst Speed): 10 FPS
– CL (Low Burst Speed): 5 FPS
– ISO Auto Setting 1:
– Default Sensitivity: 125
– Max Sensitivity: 12800
– Min Shutter Speed: 1/160
– ISO Auto Setting 2:
– Default Sensitivity: 125
– Max Sensitivity: 12800
– Min Shutter Speed: 1/100
6. Function Button Settings
Quick access to essential functions is important for efficient street shooting. Here’s my custom button setup:
– Fn1: Face Detect
– Fn2: AF Mode
– Fn3: Photometry
– Fn4: Film Simulations
– Fn5: White Balance
– AE-L: ISO Auto Setting
Film Simulations for Street Photography
One of the standout features of Fujifilm cameras is their ability to simulate classic film looks. Below are some of my favorite film simulations for street photography.
Kodak Tri-X 400
*Credit: Fuji X Weekly*
– Film Simulation: Acros
– Dynamic Range: DR200
– Grain Effect: Strong, Large
– Color Chrome Effect: Strong
– White Balance: Daylight, +9 Red, -9 Blue
– Highlight: 0
– Shadow: +3
– ISO: 1600 – 12800
This recipe gives you a timeless black-and-white look.
Kodak Ultramax 400
*Credit: Fuji X Weekly*
– Film Simulation: Classic Chrome
– Grain Effect: Strong, Large
– White Balance: Auto, +1 Red, -5 Blue
– Dynamic Range: DR Auto
– Highlight: +1
– Shadow: +1
– Color: +4
Daily Driver
This is my go-to recipe for everyday shooting:
– Film Simulation: Nostalgic Negative
– Grain Effect: Weak, Large
– Color Chrome Effect: Weak
– Dynamic Range: DR400
– Tone Curve: H -2, S +2
– Color: +3
– Sharpness: -4
It balances sharpness and color for consistent, high-quality results.
If you found these settings useful and want to see them in action, don’t miss my latest video, where I show you exactly how I set up my Fuji XT5 for street photography. Or See how I shoot with the X-T5 on the street. Whether it’s customizing autofocus or choosing the right film simulation, I cover it all in real-time:
Watch the Video: Best Fujifilm XT5 Settings for Street Photography
Fuji XT5 street photography best settings: Final thoughts
The Fujifilm XT5 is an amazing camera for street photography, but having the right settings makes all the difference. I hope this guide helps you set up your camera for success. If it helped and you want tot hank me, then you can use my link below or simply use any of my affiliate links in this article when you shop.

